Keep the tractor working
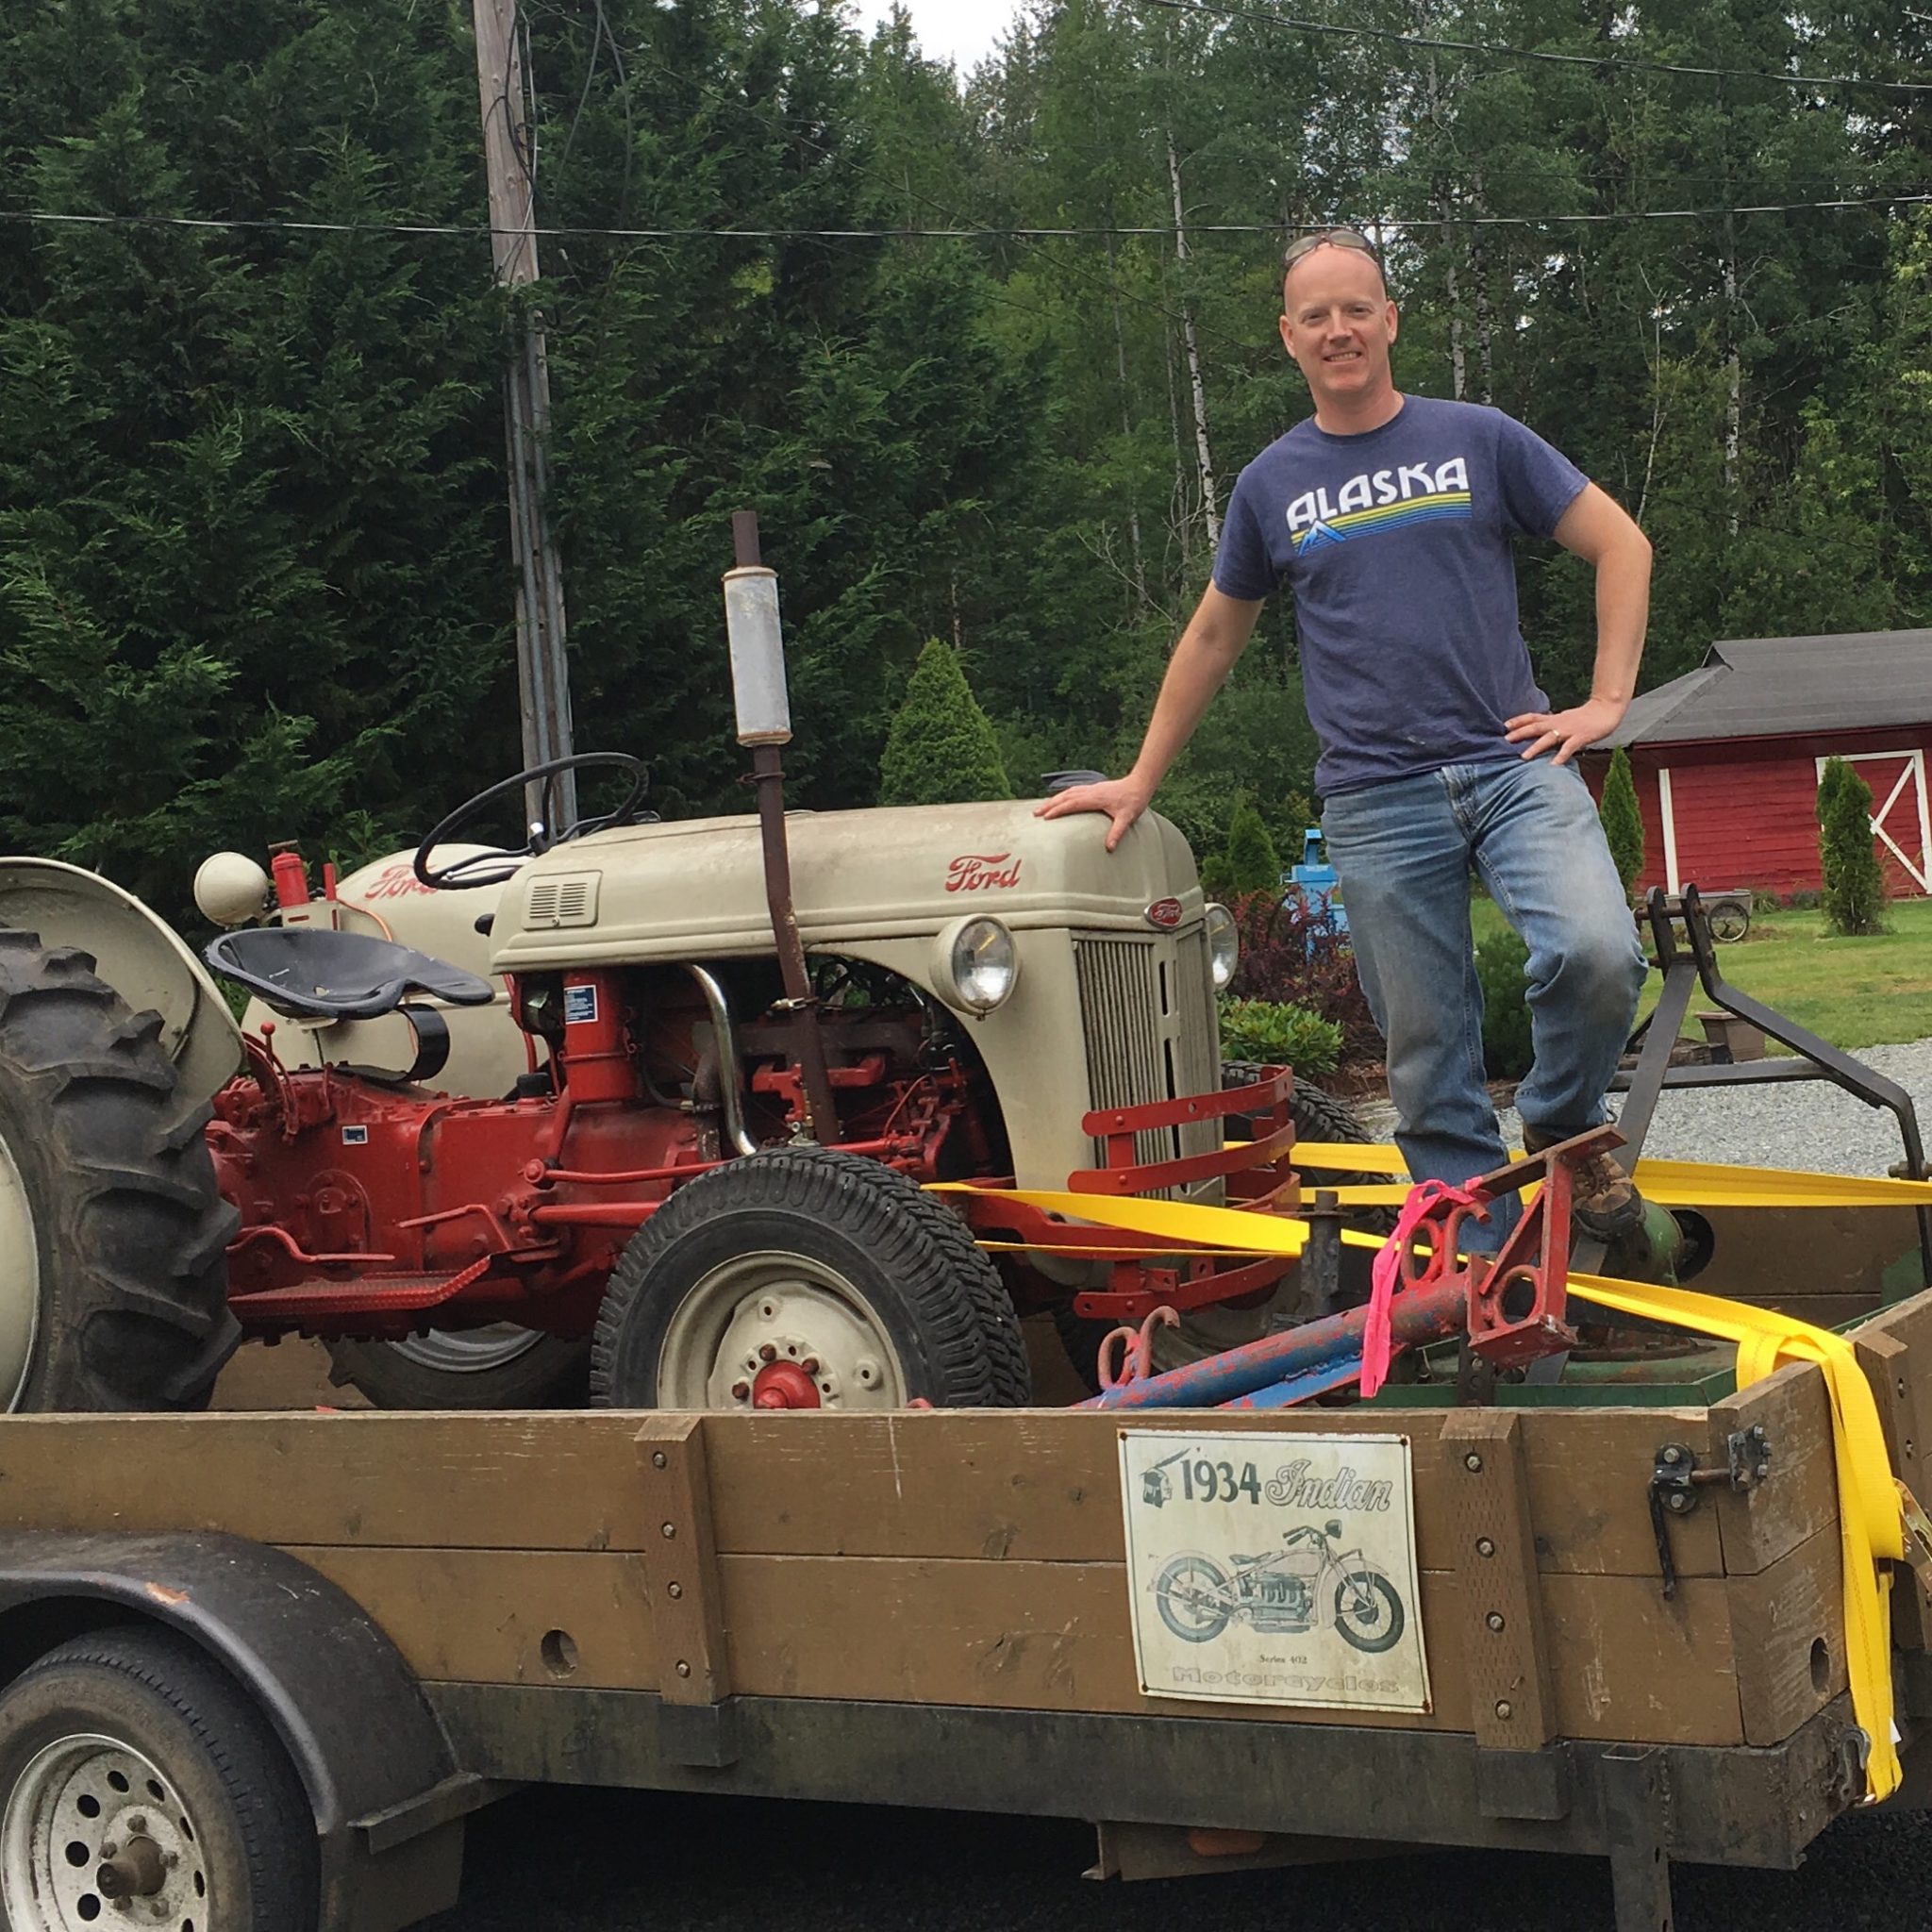
Our 1950 Ford 8N tractor is finally purring like a kitten! A bunch of parts, trial and error, and swear words and she’s almost ready to do work. But, nothing ever is easy with this machine and so on to the next project. My goal is to keep the tractor working, doing what she was designed to do – be a reliable (70 year old) tool.
When we moved to our property we bought a 1950 Ford 8N that we planned to use mostly for mowing and perhaps eventually other fieldwork. We couldn’t afford a newer tractor with a front end loader, and the purchase included a dual-axle car trailer plus a number of implements, so we felt we got a good deal. Over time I’ve become more familiar with the machine and have seen where maintenance has been neglected over the years.
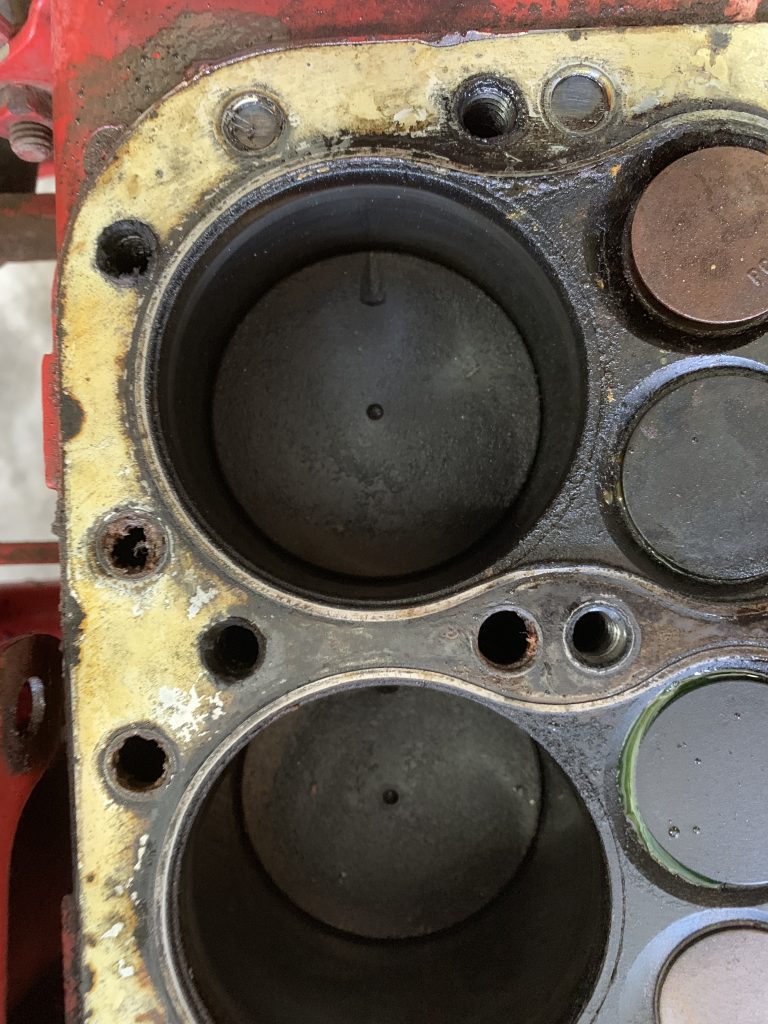
Since purchasing it, I’ve repaired the hydraulic lift, which included scraping out the decades of gunked up hydraulic “fluid” and installing new piston and O-ring, lift cylinder, (and bent lift arm…). I’ve also repaired or replaced a number of components in the fuel and electrical system including the carburetor and distributor. This past winter I ended up taking the head off of the engine block and replaced the valves with newer adjustable valves. I cleaned the carbon from the accessible parts of the block, replaced the head with a new gasket and grade 5 bolts, and torqued to specs. The pistons and sleeves looked good enough so I decided not to replace them at this point.

Once I put all of the doo-dads back in place (technical term), I couldn’t get the engine to start. It would sputter, but wouldn’t run. I scratched my head and checked that it had all needed elements – fuel, air, spark and compression. Finally, after checking the Ford Dealer Mechanic Training Manual I figured it out – the timing was off. Following the manual, I got everything set correctly and she fired right up! There were a couple of mishaps though…oil flowed out of the filter canister and all over the shop floor…turns out a washer needed replacement. Once installed, I started her up and no more oil leak. But then, once the engine warmed up, coolant started spraying out from the radiator cap all over the shop. After letting the engine cool (and me cooling off after a few choice swear words) I saw that the lip on the radiator was bent, so the cap wasn’t sealing properly. I used a small pry bar and made a few modifications and presto – the cap fits snug and no more coolant leaks.
What Next?
Now that it’s Spring, there’s lots of mowing to get to and I hoped to hop on the 8N and hook up the mower. When I sat in the seat and tried to shift into gear, the clutch wouldn’t disengage so I couldn’t get into gear. I’ve tried a bunch of quick fixes to get it free, but so far it’s still stuck. (Lesson learned: wedge the clutch pedal down when stored.) Long story short, I’ve just ordered a new clutch kit and will replace the transmission shaft seal while I have the tractor “split.” I also decided to replace the axle seals that I noticed are worn out. This will give me the opportunity to finish the brake repair. I replaced the brakes and when I took the hubs off, they were deeply grooved so brake shoes weren’t making firm contact. I have new hubs, so while I replace the axle seals, I’ll reassemble with the new hubs.
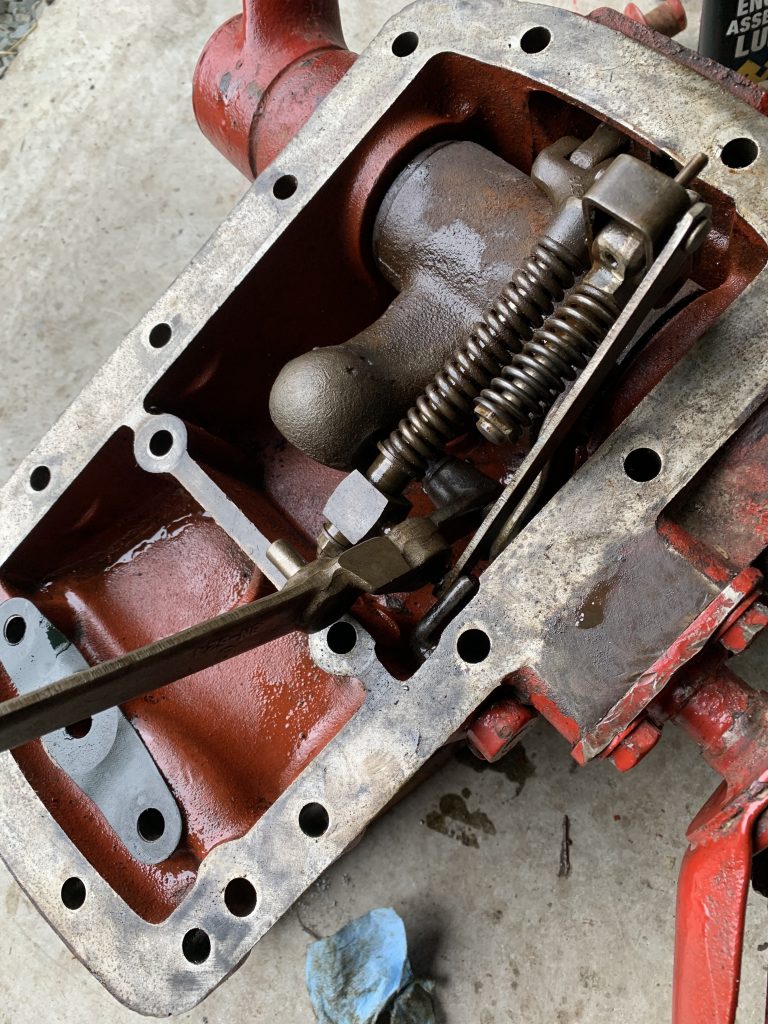
While I wait for parts, I decided to revisit the hydraulics and adjust them to spec. One thing I neglected when I replaced the lift cylinder was the cam follower pin. Let me tell you that it was a royal PITA! A while ago I bought a jig from Zane Sherman that helps line up and adjust the lift linkage. The kit came with a new cam follower pin and so I figured I’d just take it all apart, replace the pin, and then adjust to specs. Of course, it was a longer process than expected, and involved removing various parts to be able to get to the cam follower pin and get it replaced. Hours later, its replaced. I will adjust it and reassemble once I get the cotter pins I need that I didn’t have on hand. Oh well. Bright side is that once complete, I’ll have an adjusted lift that will have working position control and draft control should I need it! (if I decide to use the moldboard plow for example).
I have enjoyed all of the problem solving required to get the tractor running well and maintaining it as a useable piece of machinery. I wish that I knew more before we bought it though. My biggest complaint is that all of the bolts, nuts, screws, etc. have been painted over with thick enamel paint. This makes removing them even more difficult. Not only do I have to fight 70 years of rust, but now also paint. In one case, I needed to remove a part that I thought had been welded on and painted over. I broke out the angle grinder to remove the weld, and poof – it was only a clod of dirt that had been painted over. At least it made for easy grinding.
If (when) we get a new tractor with modern features (and a bucket finally), I may tear the tractor down completely, sandblast off all of the paint, and do a proper rebuild. Until then, I need her to run! Even at 70 years old, she is still capable provided I can keep up with the regular maintenance, and find the rest of the neglected areas that need work.